COVID-19 Automotive Projects
April 13, 2020Safeguard Your Business With Antimicrobial Film
April 15, 2020FUN ACTIVITIES WITH KIDS DURING QUARANTINE – PART 4
We understand how difficult it can be to come up with fun and educational activities for your kiddos! Here are a couple of ideas to help teach your kids (and maybe even the parents) a thing or two in the kitchen!
COOKING LESSON – SUSHI
Making sushi sounds like such a daunting task. I remember being so intimidated at first that I almost didn’t even attempt learning. Turns out, it’s really not that difficult, dare I even say, easy. We’ll break it down step-by-step for a fun learning experience in the kitchen for the whole family! If you are worried that you hate seafood or can’t stomach the idea of eating raw fish, good news, you can put whatever you want in your sushi!
Ingredients/Supplies needed:
- Bamboo rolling mat or towel
- Plastic wrap or large Ziploc baggie
- Sharp straight-blade knife
- Rice (sushi rice or short grained rice)
- Rice vinegar
- Sugar
- Salt
- Nori (seaweed wraps)
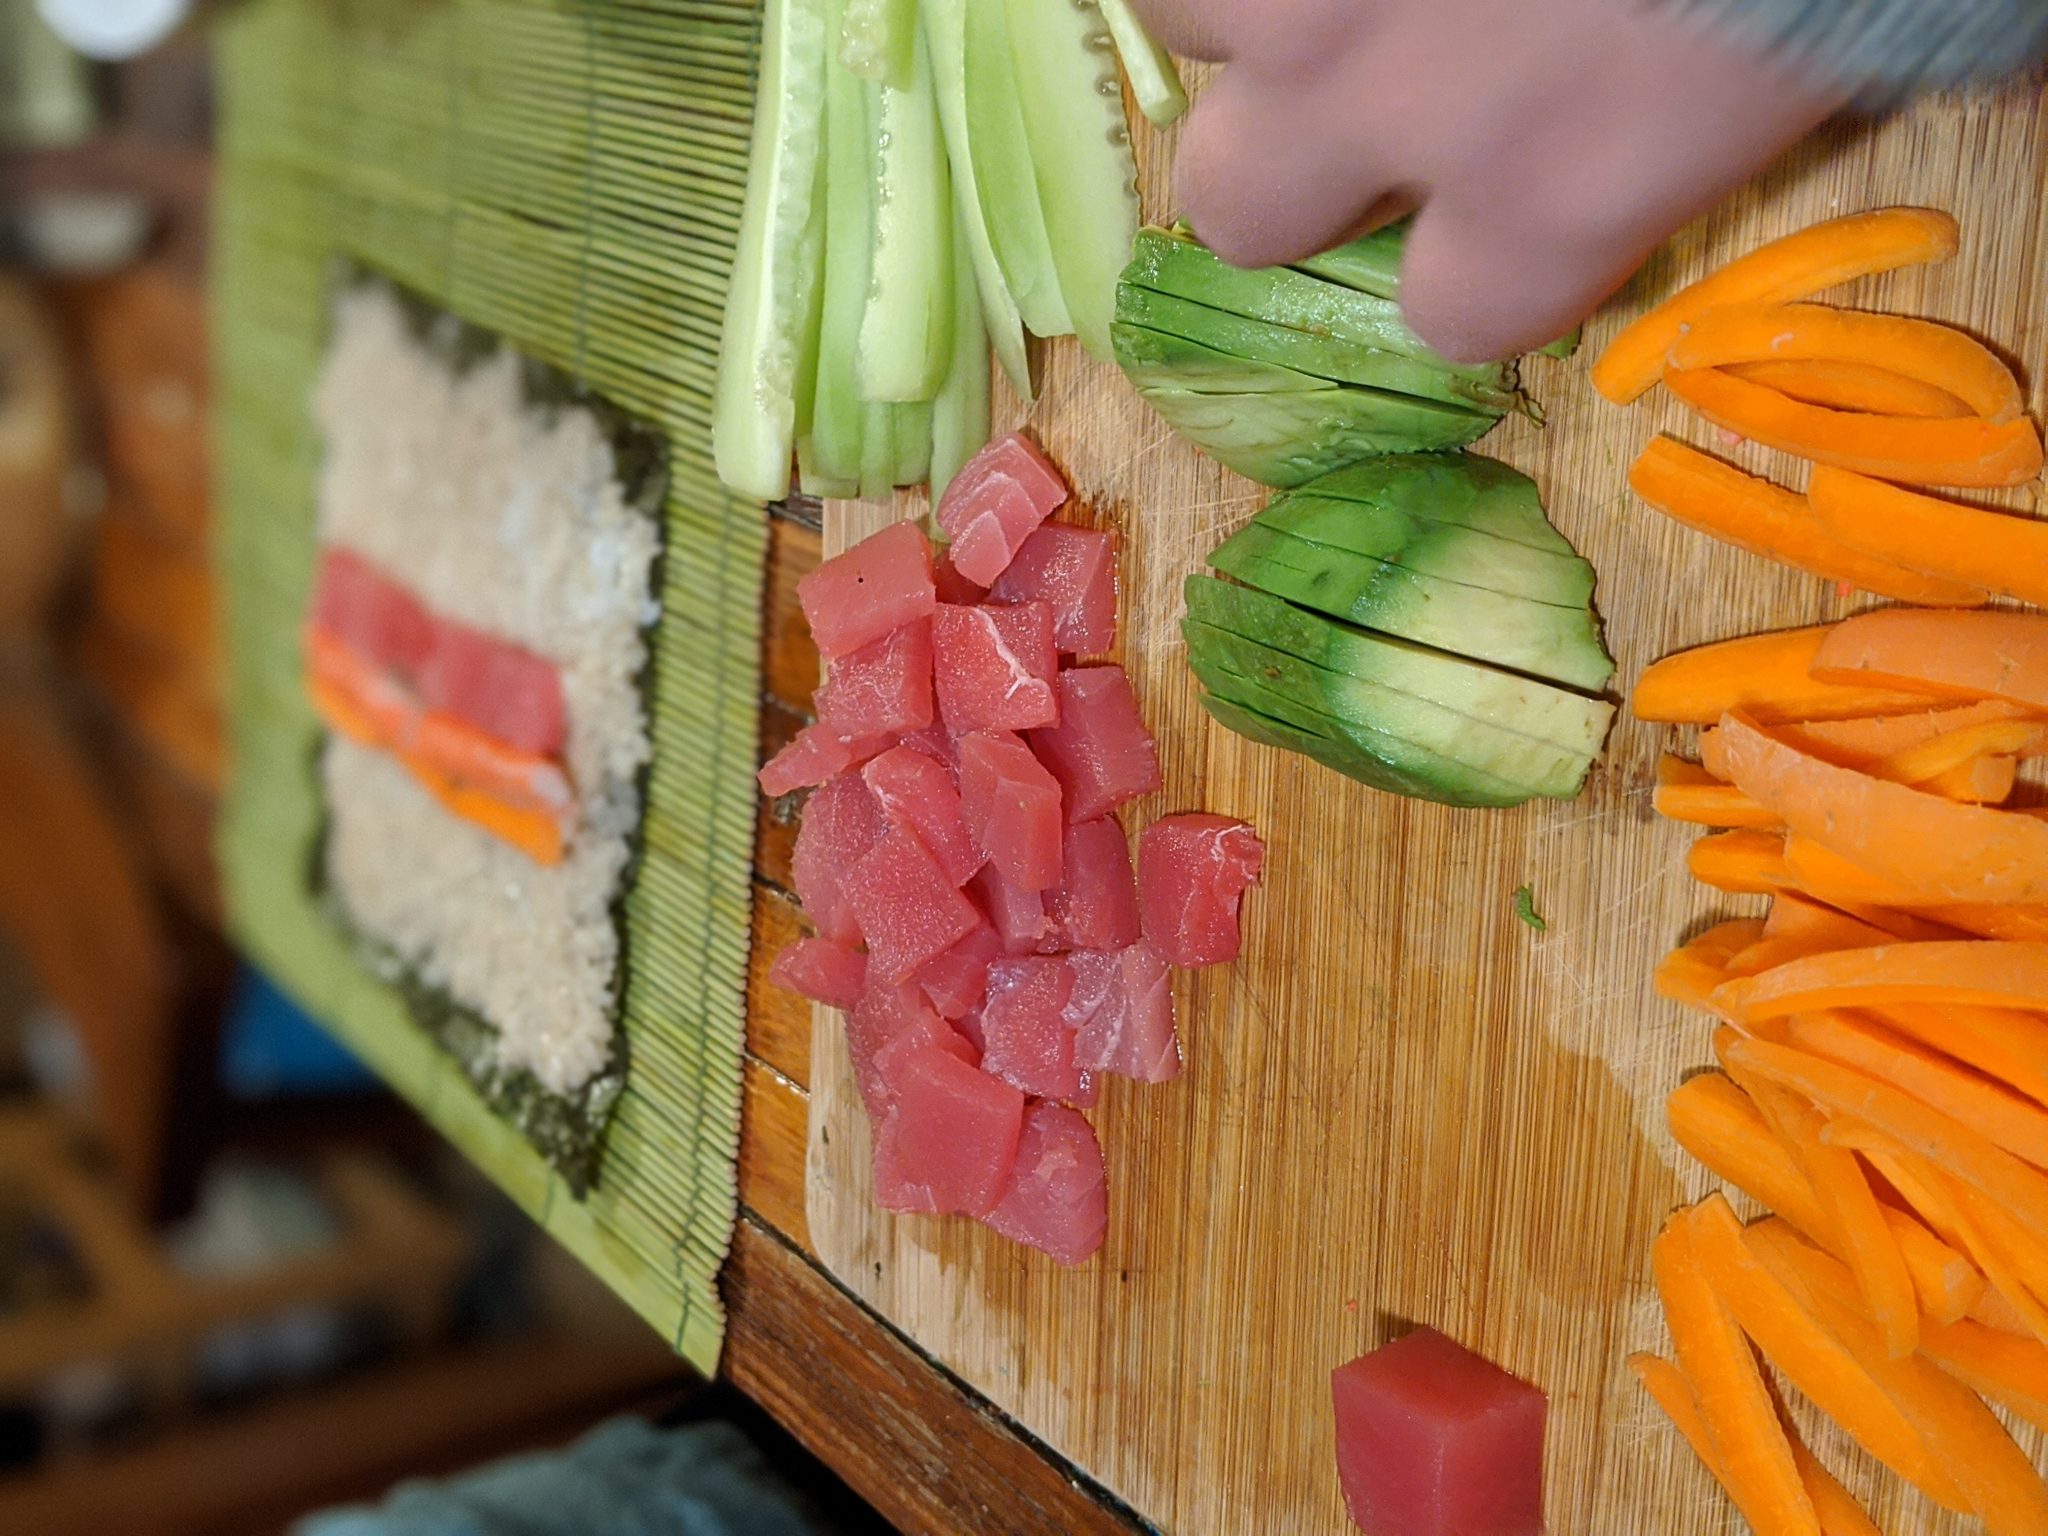
- Whatever you want in your sushi: avocado, carrots, cucumber, imitation crab, mango, etc. – All cut into strips. (If you are using fish, make sure it is sushi grade)
The first step is getting the rice ready. With homemade sushi rice, you’re aiming for rice that’s fluffy and a little sticky but not too sticky. 1 cup of rice will make 3 sushi rolls, with approximately 6-8 pieces of sushi per roll. We typically make 2 rolls per person. Take the amount of rice you need for your family and rinse the rice for a couple of minutes until the water runs clear. Once the rinsing is complete, put the rice in a pot and add water. You will want to add just a little bit more water than rice, approximately 1 ¼ cup water for 1 cup of rice. Be careful to not add too much water or it will become mush instead of perfectly cooked sushi rice. Cook on high, stirring every couple on minutes until the water starts to boil, then lower the heat to low and cover the pot. Check the water level after 6-8 minutes and if there is no more water, then your rice is ready to be removed from the stove.
While the rice is cooking, create your sushi vinegar dressing. For every 1 cup of (uncooked) rice you will use 3 tablespoons of rice vinegar, 1 tablespoon of sugar and 1 teaspoon of salt. Combine those 3 ingredients in a small glass bowl and heat in the microwave on high for 30-45 seconds.
Transfer your rice from the pot into a glass or wooden bowl using a wooden spoon. Be sure not to use metal bowls or spoons as it can react with the vinegar to create a metallic taste in your once delicious rice. After transferring the rice from the pot into the bowl, add the vinegar dressing mixture and fold gently to disperse the vinegar dressing throughout the rice. Allow the rice to cool to room temperature before starting to create your sushi rolls.
To prepare your sushi rolling station, cover your rolling mat with plastic wrap or Ziploc baggie. If you do not have a rolling mat, you can use a towel, but (in my opinion) it is a tad bit more difficult. Take a dish towel, fold it in half lengthwise and lay it flat on the counter. Then cover the towel in plastic wrap the same as you would with the bamboo mat. Place your nori sheet onto your rolling mat/towel with the rough side facing down. Spread a thin layer of rice all over, except for a small space at the top and the bottom of the sheet. I like to keep a small bowl of water next to me while doing this. If you keep your fingers slightly wet, the rice will not stick to your fingers.
Place the ingredients of your choice onto your rice…making a row in the middle.
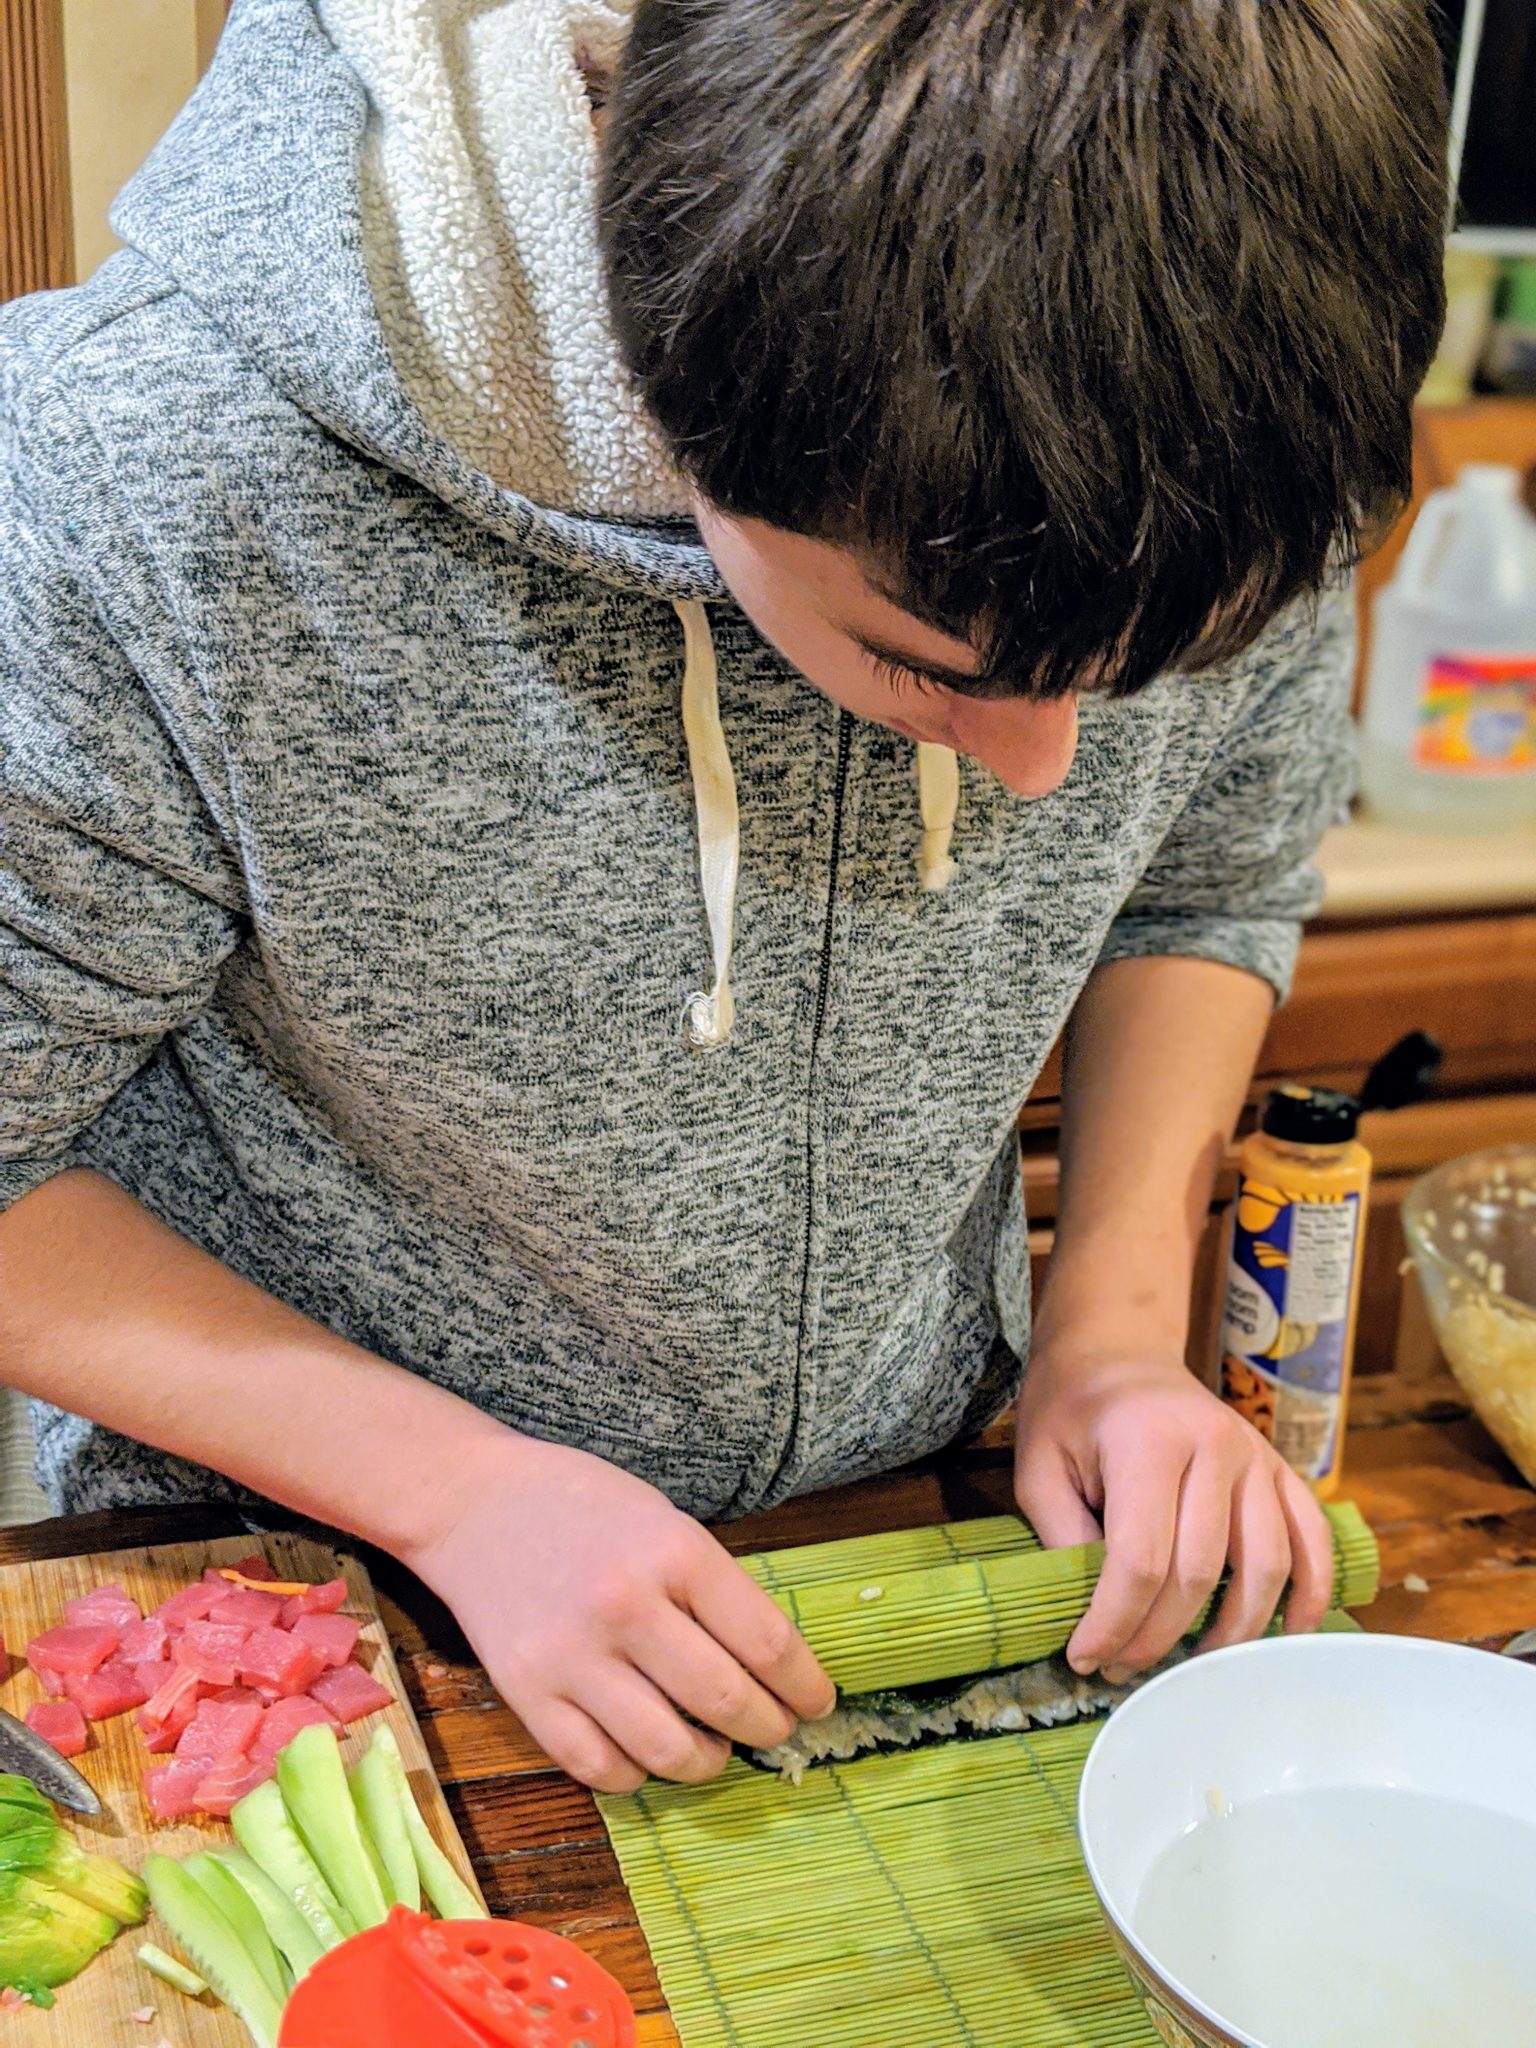
Now comes the fun part – rolling your sushi! Place your thumbs underneath the bamboo mat and lift the edge that is closest to you up and over the filing in the center. Curve the rest of your fingers over the bamboo mat/towel and gently press along the length of the roll. This presses the rice and the filling together, preventing the roll from becoming too loose. Pull the edge of the mat toward you and fold it underneath your hands, continue rolling the sushi away from you until you have rolled past the far edge of the nori sheet. Just don’t press too hard, otherwise the wrapper can tear, or it can push the rice and filling out of the roll. It may take a few attempts to understand the motion and the pressure applied. Make sure that your roll is tightly packed, otherwise it will fall apart once you start to slice. If you mess up your first couple of rolls, don’t be upset, they still taste delicious as “de-constructed sushi”.
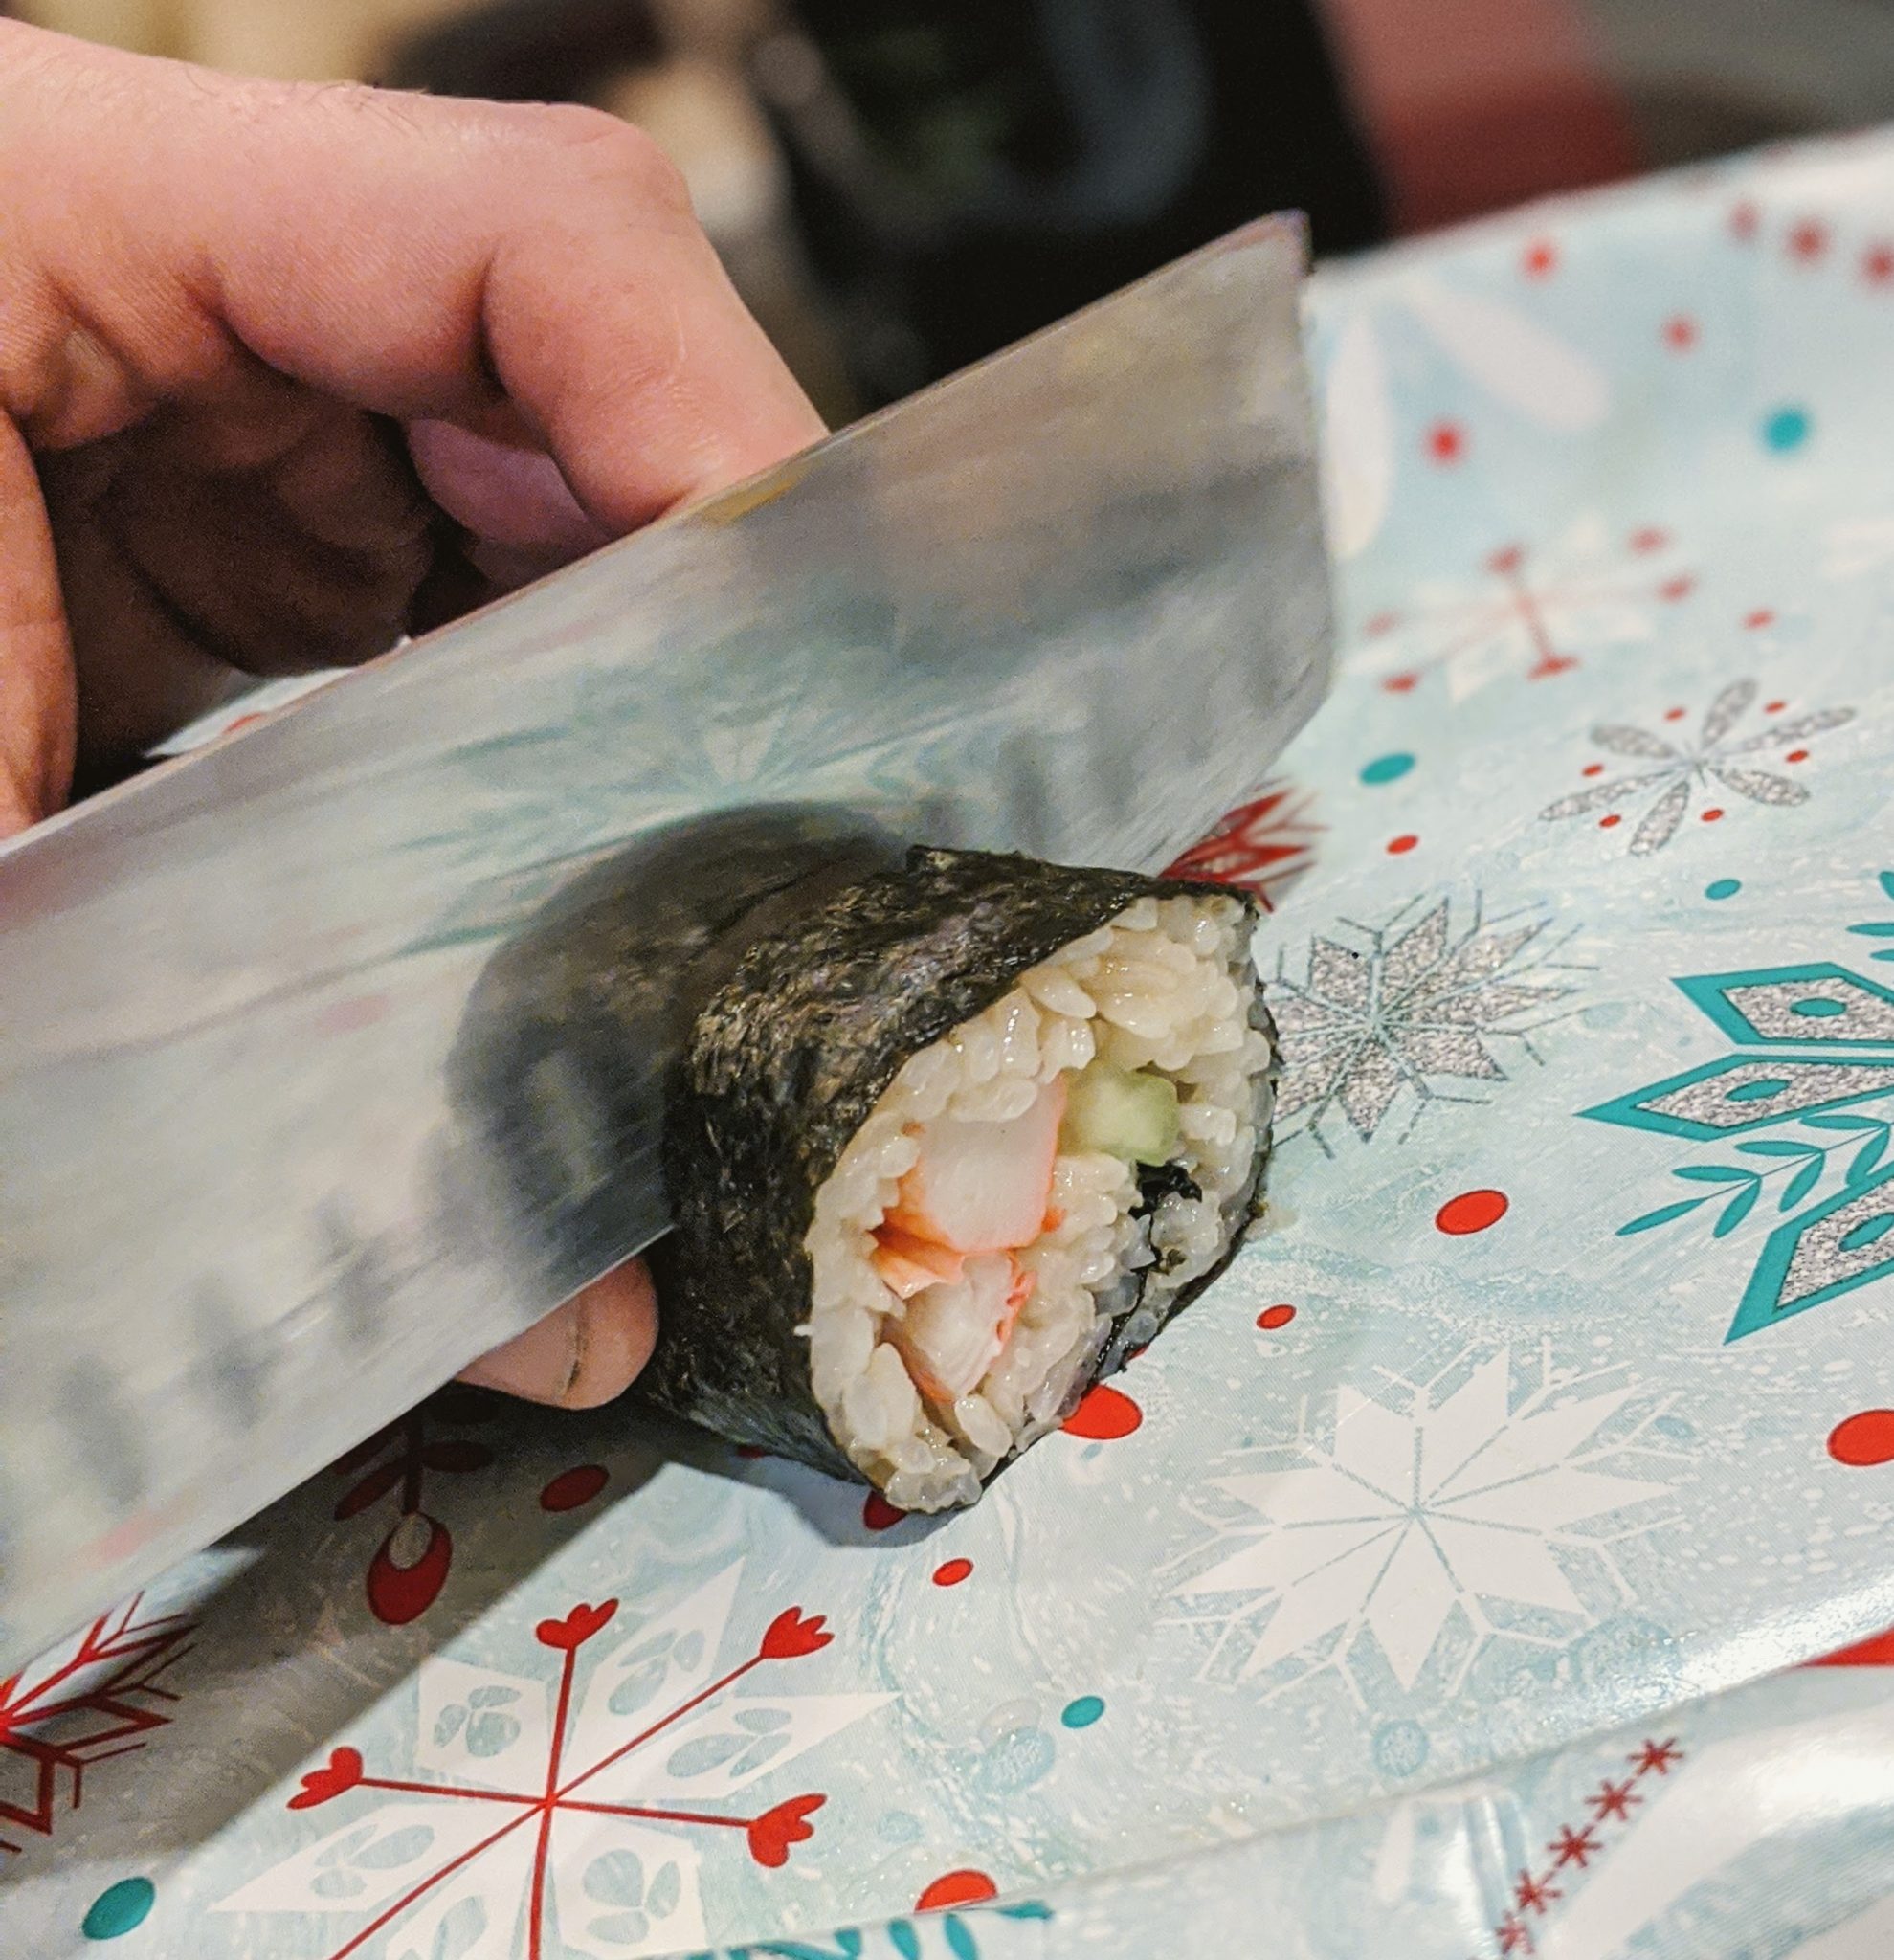
Ta-da…You are now ready to cut up your roll into delicious individual slices of sushi! Ensure that your knife is very sharp. If you have a dull knife, it will tug on the nori as you slice and make your gorgeous rolls, not so gorgeous. Dip your sharpened knife blade into a bowl of water before each cut so the rice does not stick to the blade and start cutting your roll into approximately one and half inch slices.
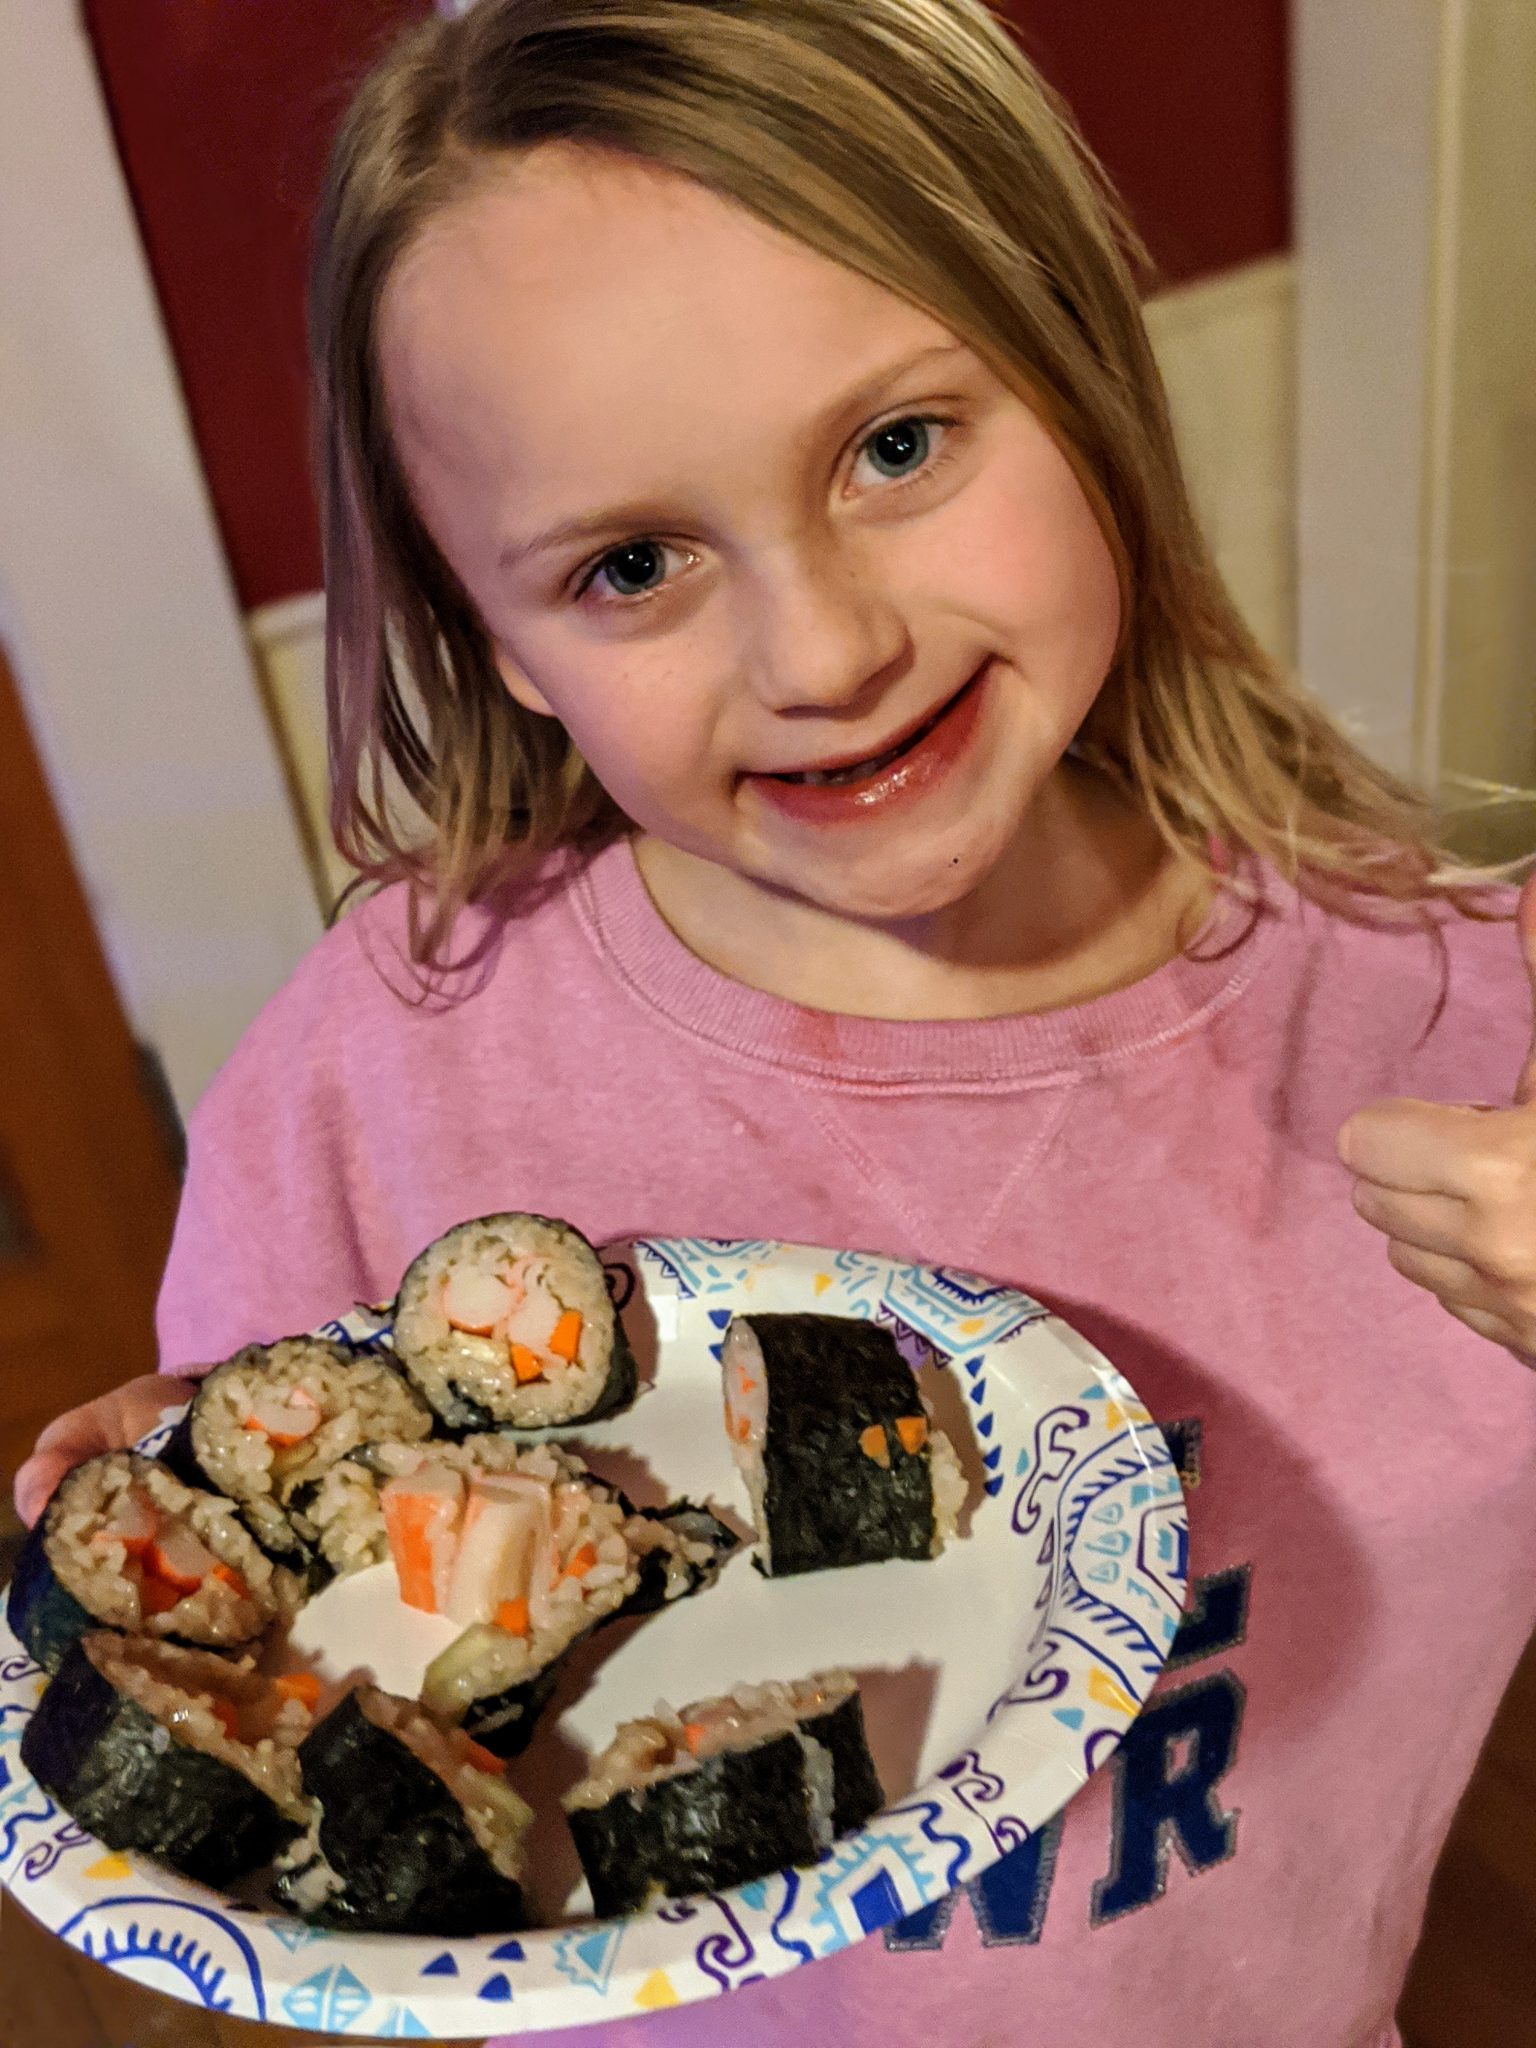
That’s it. You are officially a sushi chef! Ok, well… maybe not a chef, but you ARE a sushi maker and that is quite the accomplishment! Stand back and admire… and then snap a pic and share it with us here at Scorpion!
We hope that this article helps bond your family over food and create a special memory. We know and understand how difficult everything can be right now, just know that we are all in this together!
#AloneTogether